4 quick tips for rapid prototyping

Last night, I completed a playtest for a game I’m currently working on, and tomorrow morning I’m meeting with the same people to play again. I have 24 hours to finish a full day’s work and update the prototype with several changes for the next session. Luckily, rapid prototyping is something I’ve grown accustomed to, and in most cases, I can have a complete game ready to go in about an hour.
Playing cards
Currently, I create all the cards for my games in InDesign, using the merge functionality from a CSV file when necessary. This means that if I only need to update numbers, I can modify the CSV file using Excel, and if I want to change layouts, I can adjust the templates in InDesign. Then, with a press of the generate button, all the files are ready to be printed.
I then print them, with six cards per sheet, on regular paper and cut them out using a guillotine or scalpel. To make the cards usable in a game, I place them in transparent card sleeves and insert a blank card behind them for added weight. This allows for easy shuffling and handling.
Resources
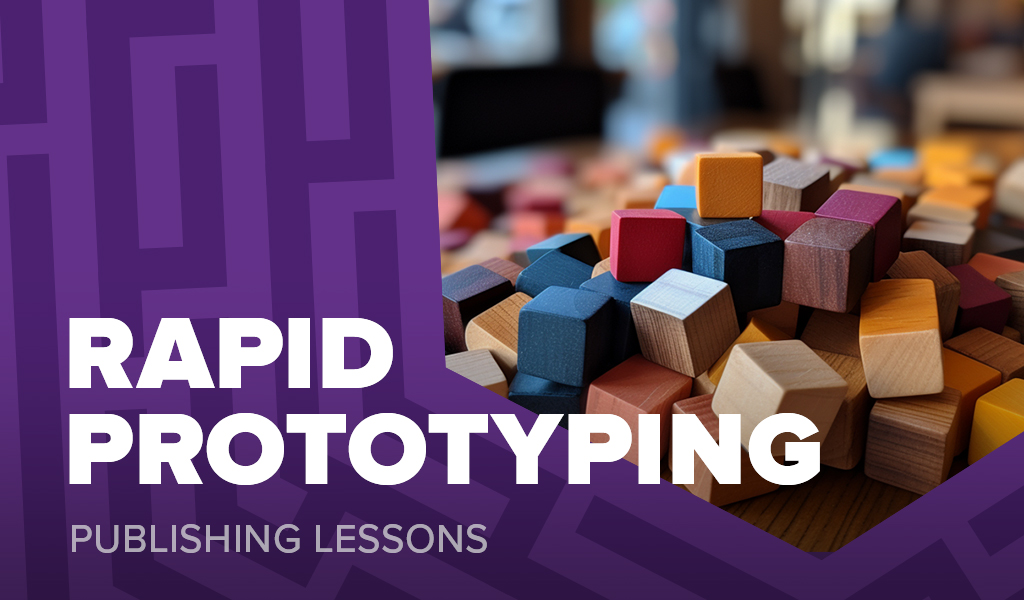
A while ago, I purchased 40 small wooden cubes in eight different colours, and I’ve been using them to represent resources, currencies, and similar basic objects for many years. It’s a highly convenient tool for early testing.
Tokens
I take blank playing cards and cut them into 4, 6, or 8 pieces, depending on the desired size, and then write directly on them with a permanent marker. I prefer using cut-up playing cards instead of paper because it’s just as quick and easy to cut, but it adds thickness, making them effortless to pick up from a table, shuffle in a bag, and prevents them from creasing. Additionally, if I require more complex information on the tokens, I can utilize my label printer and affix the stickers to the cut-up card pieces.
Player sheets and boards
One of the best investments I made was purchasing an inexpensive A3 (11.7 x 16.5 inches) printer. I use it to print all player sheets and boards. For larger boards, I simply print them in two halves and then join them together.
It might not sound like much because it isn’t, but it’s still sufficient to have nearly any game in an easily updatable form during the early stages. You just need a printer, some generic wooden tokens, blank cards, and some card sleeves! Keep in mind that focusing on quick updates to prototypes is crucial, and you shouldn’t worry about artwork until you’re much more certain about the design. A basic wireframe with clear icons is more than adequate for the initial days.
Frank West
Frank West is a gamer and designer based in Bristol, UK. He published his first board game, The City of Kings, in 2018 and now works on other games and organising events in the local area. His goal? To design and publish games focusing on immersive themes, fun mechanics and beautiful components. If you have any questions or would just like a chat, feel free to get in touch at any time!


3 comments
Wonmin
18th July 2023 at 10:14 pm
Also, I recently bought a laminator on Amazon for like $30. It was really to do as well! And it makes the cards a bit more fancy / waterproof. Might be useful if your prototypes are constantly getting beat up
Frank West
19th July 2023 at 12:19 pm
Personally I have not used laminators for prototypes but I can see why they would be good once you have reached the stage of prototyping where things may not be changing around too much.
TechyList
5th September 2023 at 6:23 am
Great tips for rapid prototyping! I’m always looking for ways to speed up the process of creating prototypes, and these tips will definitely help.